
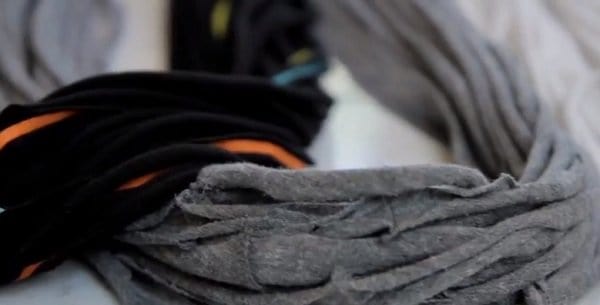
If you’re into recycling or repurposing clothing, here’s a really cool way to make a scarf using old t-shirts that you have lying around the house.
This DIY trick is not new. It’s being done by a lot of crafty gals all over the globe. But just in case you’re clueless or you need a more visual demonstration on how to turn your old stretchy shirts into a usable neck warmer, here are the steps you need to follow:
1. Grab some t-shirts. The larger and longer, the better.
First thing you need to do is to look for t-shirts that you’re willing to cut up. The larger and longer the shirt, the better. You can get your hubby’s or boyfriend’s shirts if you want. Just don’t forget to tell him that he won’t be getting them back.
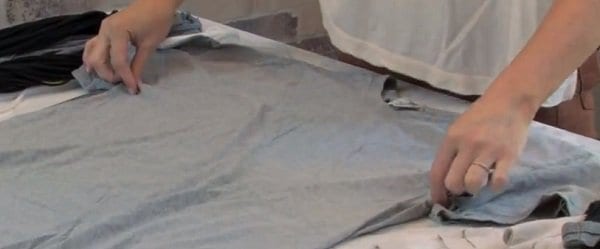
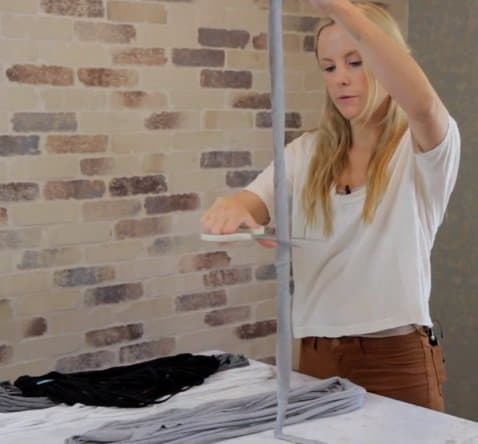
2. Lay the shirt flat on the table and cut from the armpit down.
Once you have your shirts, start with the first one and lay it flat on the table. Cut the shirt from the armpit down. You will only need the circular portion of the shirt. The rest (sleeves and neckline) you will have to throw away.
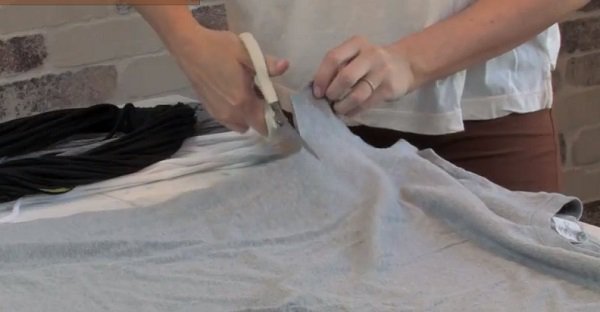
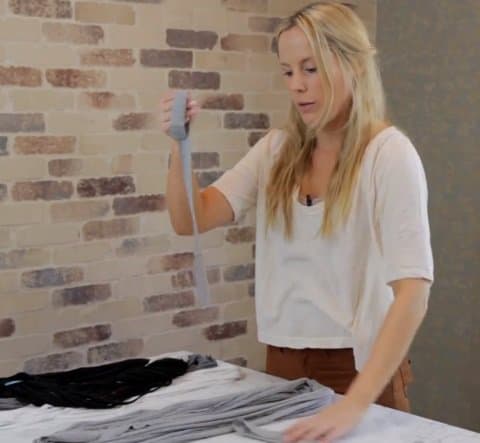
3. Cut the shirt into 1 to 2-inch-thick strips.
Keep the shirt flat on the table and cut them into 1 to 2-inch-thick strips. You will essentially come up with circle bands that are 1 to 2 inches thick. The goal is to cut up a bunch of strips so you can create the shredded look.

4. Line up the strips and pile them together on your finger.
Once you have finished cutting up the shirt, line up all the strips on the table and then one by one, pile them on your finger. Keep the seamed ends of the strips on top of your finger.
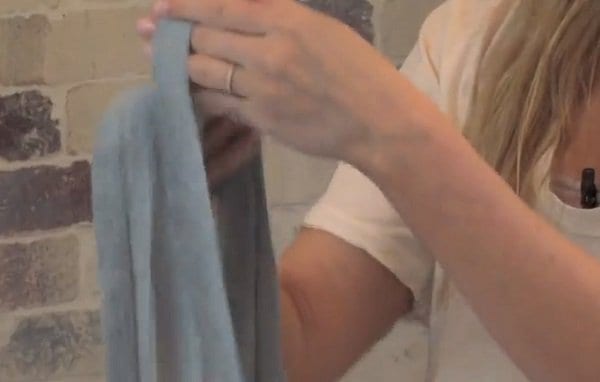
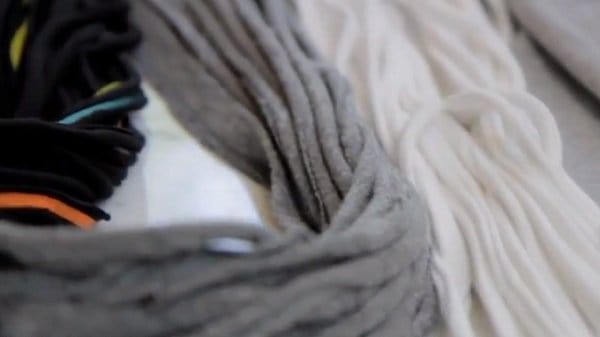
5. Stretch the strips/bands you have piled together to make the edges roll.
With the strips piled together on your hand (and the seamed ends placed on top of your finger), stretch them to make the edges of each strip roll, as shown in the second picture below.

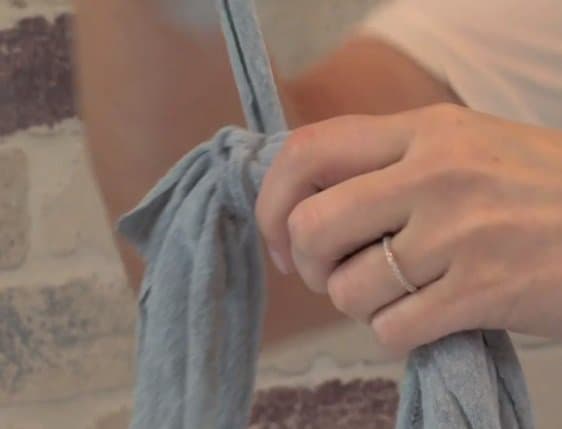
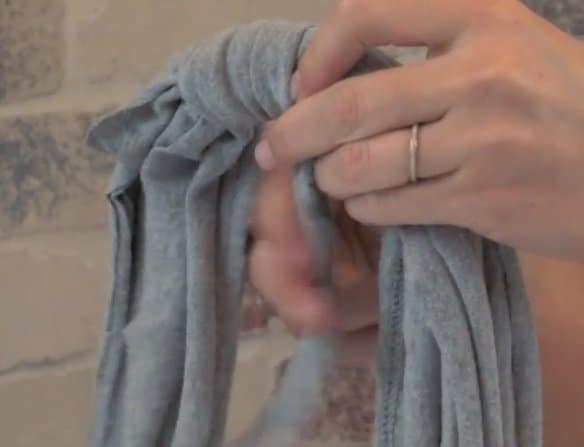
6. Cover the seamed ends by tying a knot around it using a spare strip.
With the seamed ends placed on top of your finger, grab a spare strip (that you haven’t stretched), snip it and cut it in half, then tie it into a knot around the strips while making sure you cover the seamed ends.
7. Cover the knot by wrapping the ends of the knotted strip around it.
Once you’re done tying a knot, pull each end of the knotted strip and wrap it around to cover the knot. To lock, tie each end with one of the piled strips and tuck to hide. You’re done!

If the steps are a little confusing, then check out the tutorial video below by Jessie Jane of Lilyshop. It’s very simple and easy to do. Besides, won’t the idea of getting a new scarf without having to spend a dime sound extra exciting? Which means this DIY is definitely a must-do. You can even mix up strips from different t-shirts to create a multicolored scarf.
So what do you think? Will you be doing this little project anytime soon? Go ahead and try to make a scarf for free!